In this post I'll continue the pano theme and discuss an in-camera Hasselblad XPan simulator I've created.
The two most iconic pano cameras from the film era are the Hasselblad XPan, allowing a 65x24 mm negative to be captured on its 135 film, and the Fuji-film G617, with its huge 168x56 mm negative, using 120 film:


If you don't have either of the above cameras and only shoot digital, there are 'alternatives', that allow you to create flat stitched equivalents, at least of the XPan. The one I use, as shown in the last post, being the Fotodiox ROKR TLT, allowing me to use Mamiya 645 lenses on the EOS R, to create a flat stitched RAW of 67x24 mm, after stitching, ie slightly bigger than the XPan.
Of course the downside of shifting is that you can't visualise the full scene, ie only slices of it; which most of the time is OK, eg when surveying exposure for ETTRing.Composing is a challenge, as is 'just' practising 'seeing' with a 617-eye.
For this reason I decided to write an XPan simulator for my Canon G7X and G5X point and shoot cameras.
The simulator is written in CHDK Lua and allows me to simulate the field of view of the XPan’s 45mm and 90mm lenses. The 30mm lens of the XPan is too wide to simulate on the G7X. In addition, as the ROKR TLT is so close the XPan in aspect ratio, I added a 150mm lens to the simulator, as I have 45mm and 150mm Mamiya 645 lenses.
The script can be downloaded from the right (CPAN = Cropped XPan).
You run the script in the usual way under CHDK.
There are two script menu items. The first allows you to show or hide the CHDK title bar at the bottom. The second menu item allows you to add a shooting delay between 0 and 10s.
The normal G7X screen looks like this:
Here we see a typical manual mode screen, with the Canon stuff switched off, ie just displaying the shutter, aperture and ISO.
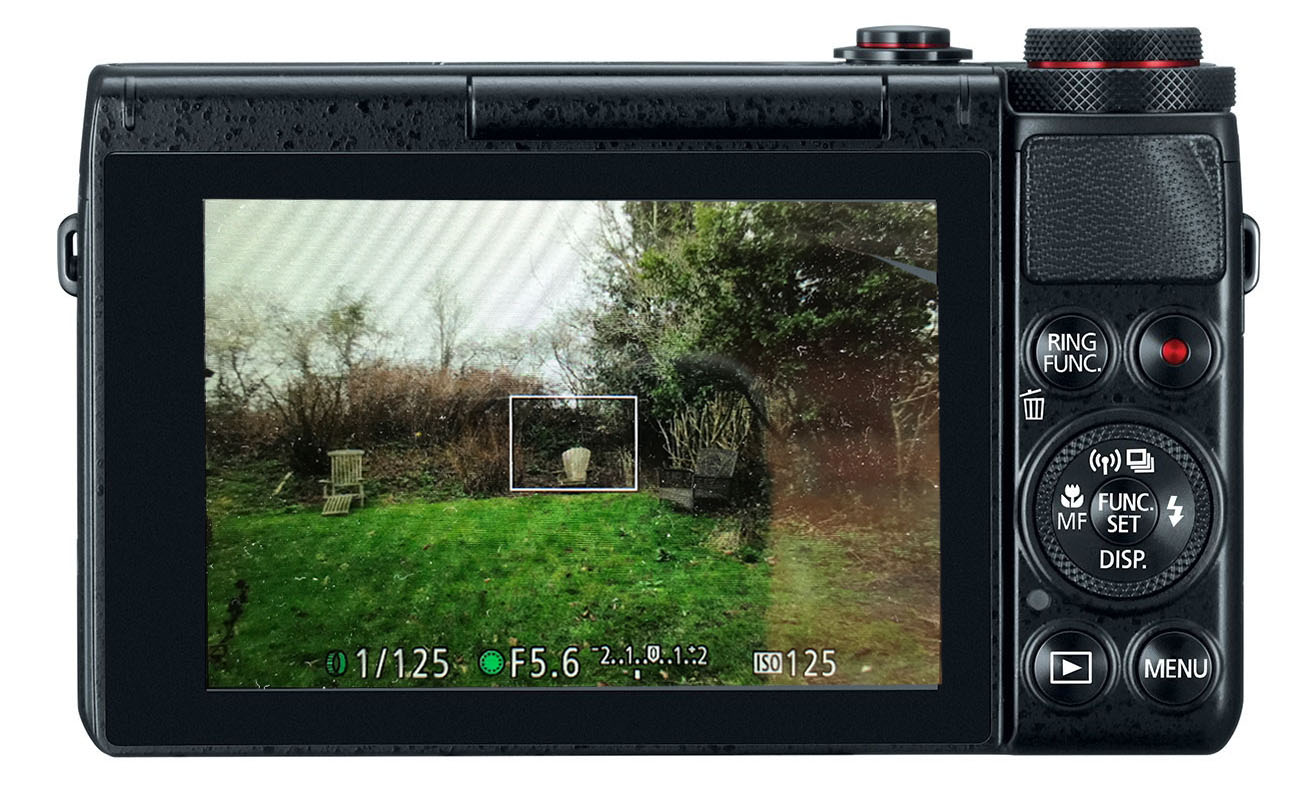
Once the CPAN script is run the screen looks like this (note the following illustrations are cut and paste mock ups and not fully representative of the real camera view):

Here we see the script's starting state, ie simulating an XPan 45mm lens.
From here we can do the following:
- Toggle the CHDK histogram on and off by pressing the left button. You can position the histogram to your liking in the script
- Switch between dark and transparent modes of display by pressing the top button. The transparent mode allows you to see the exposure info as you adjust it
- Toggling between 45, 90, and 150mm lens views is achieved by pressing the right button, with the script zooming appropriately
- You can capture an image by pressing the SET button
- Exiting the script is achieved by pressing the down button
The following illustrates the above:


Although CPAN is simply an in-camera XPAN field of view simulator, I added the capture capability so that you can explore 617-like post processing, as the captured image is always a G7X full image.
As an illustration, I used the script to grab this sunset last night from the top of our house:

Clearly CPAN is not a replacement for the XPAN or the Fotodiox ROKR TLT adapter, but it is a bit of fun, and a useful tool to help you tune your 617-eye.
As usual I welcome any comments on this post or any of my posts.
No comments:
Post a Comment