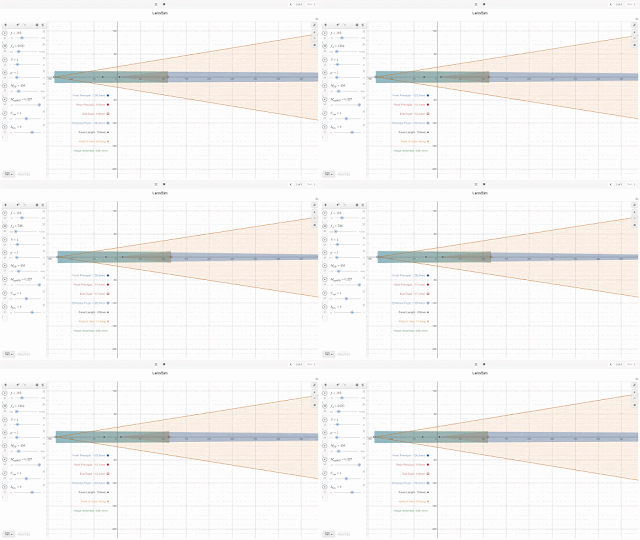
In this post I take a quick look at LensSim and how you can use it to 'get to know your lens.
As an example, let's take my trusty Canon EF 24-105mm f/4L IS USM.
The relevant LenSim information, here lifted out of DOFIS, is:
Let's first look at the 24mm end of the lens, focused at the focus minimum and at an aperture of f/4 and see what things look like:
LensSim is telling us that the hiatus between the front and rear principals is 92.2mm. This, of course is the amount that the thin lens model is in error, which becomes more and more important as one approaches the macro end. The positive value of the hiatus also tells us that the lens is behaving as a retro focus lens at the 24mm end of the zoom.
LensSim is telling us that the front principal is located, at minimum focus, at about 118mm from the sensor plane. If this was a tilt/shift lens, this would be the zero of the J height of the hinge.
LensSim is also telling us that the entrance pupil is positioned at 136mm from the sensor. This is the location of the no-parallax point. A location of great interest for the pano shooter.
Because we are at 24mm and the maximum magnification at the minimum focus is only 0.071, the focus breathing is very small and hardly visible in LensSim when zoomed out to see all the cardinal points, ie less than 2mm. So we will explore focus breathing in a moment.
Let's now reset LensSim to the 105mm end of the lens and see what things look like:
Now that's different!
The first thing that jumps out is that the front principal is now positioned behind the rear principal and, in this case, the sensor!
The next thing that is different from the 24mm end of the zoom, is that the pupils are coincident with the their principal planes/nodes. This, of course, is because the pupil magnification at the long end of the zoom is unity.
BTW Wiki tells us that: "The two principal planes have the property that a ray emerging from the lens appears to have crossed the rear principal plane at the same distance from the axis that the ray appeared to cross the front principal plane, as viewed from the front of the lens. This means that the lens can be treated as if all of the refraction happened at the principal planes, and the linear magnification from one principal plane to the other is +1. The principal planes are crucial in defining the optical properties of the system, since it is the distance of the object and image from the front and rear principal planes that determines the magnification of the system. The principal points are the points where the principal planes cross the optical axis."
This is why we need a negative hiatus at 105mm, of -246.4mm, in order to ensure the magnification at the minimum focus matches what the lens captures in our image. The negative hiatus is also telling us that the lens is now behaving as a tele lens.
Remember the principal planes are not physically real. LensSim creates a model that estimates points of real interest, eg the entrance pupil location and the front principal plane/node. That is, al the lens elements are 'merged' into a single thick lens that, from and input and output perspective, behaves like the real lens.
Finally, now we have some lens breathing, let's look at what this looks like at 105mm, where the focus movement between infinity and the minimum focus distance is 0.227*105 = 23.8mm.
In this GIF we see the lens breathing taking place between the minimum focus and 2m, with LensSim telling us the impact on the various distances. If we were to run the GIF out to infinity, we, of course, would see the focal length black dot reach the sensor plane.
BTW, all input variables in LensSim can be animated between limits by selecting the play button on each input slider.
I hope you have found this post of interest/help as you try and understand/explore your own collection of lenses.
As usual I welcome any feedback on this post.


No comments:
Post a Comment