Thus it will be no surprise to learn that before I purchased
the Canon TS-E 24mm F/3.5L II tilt+shift lens I had read and read and read
about how to use this ‘technology’.
Much of the tilt+shift reading is, obviously, directed at
view or technical cameras; and, like many, my first insight was provided via
Harold M Merklinger’s excellent (e)book: “Focusing the View Camera – A
scientific way to focus the View Camera and estimate Depth of Field”; which is
freely available on line.
Initially it was all very confusing, but soon, after playing
with the lens on my 5DIII and ‘seeing’ what tilting and shifting did for an
image, things began to fall into place. Worrying about Scheimpflug lines was soon
put in the background and into the foreground popped a simplified understanding
that now allows me to use the TS-E with (relative) confidence.
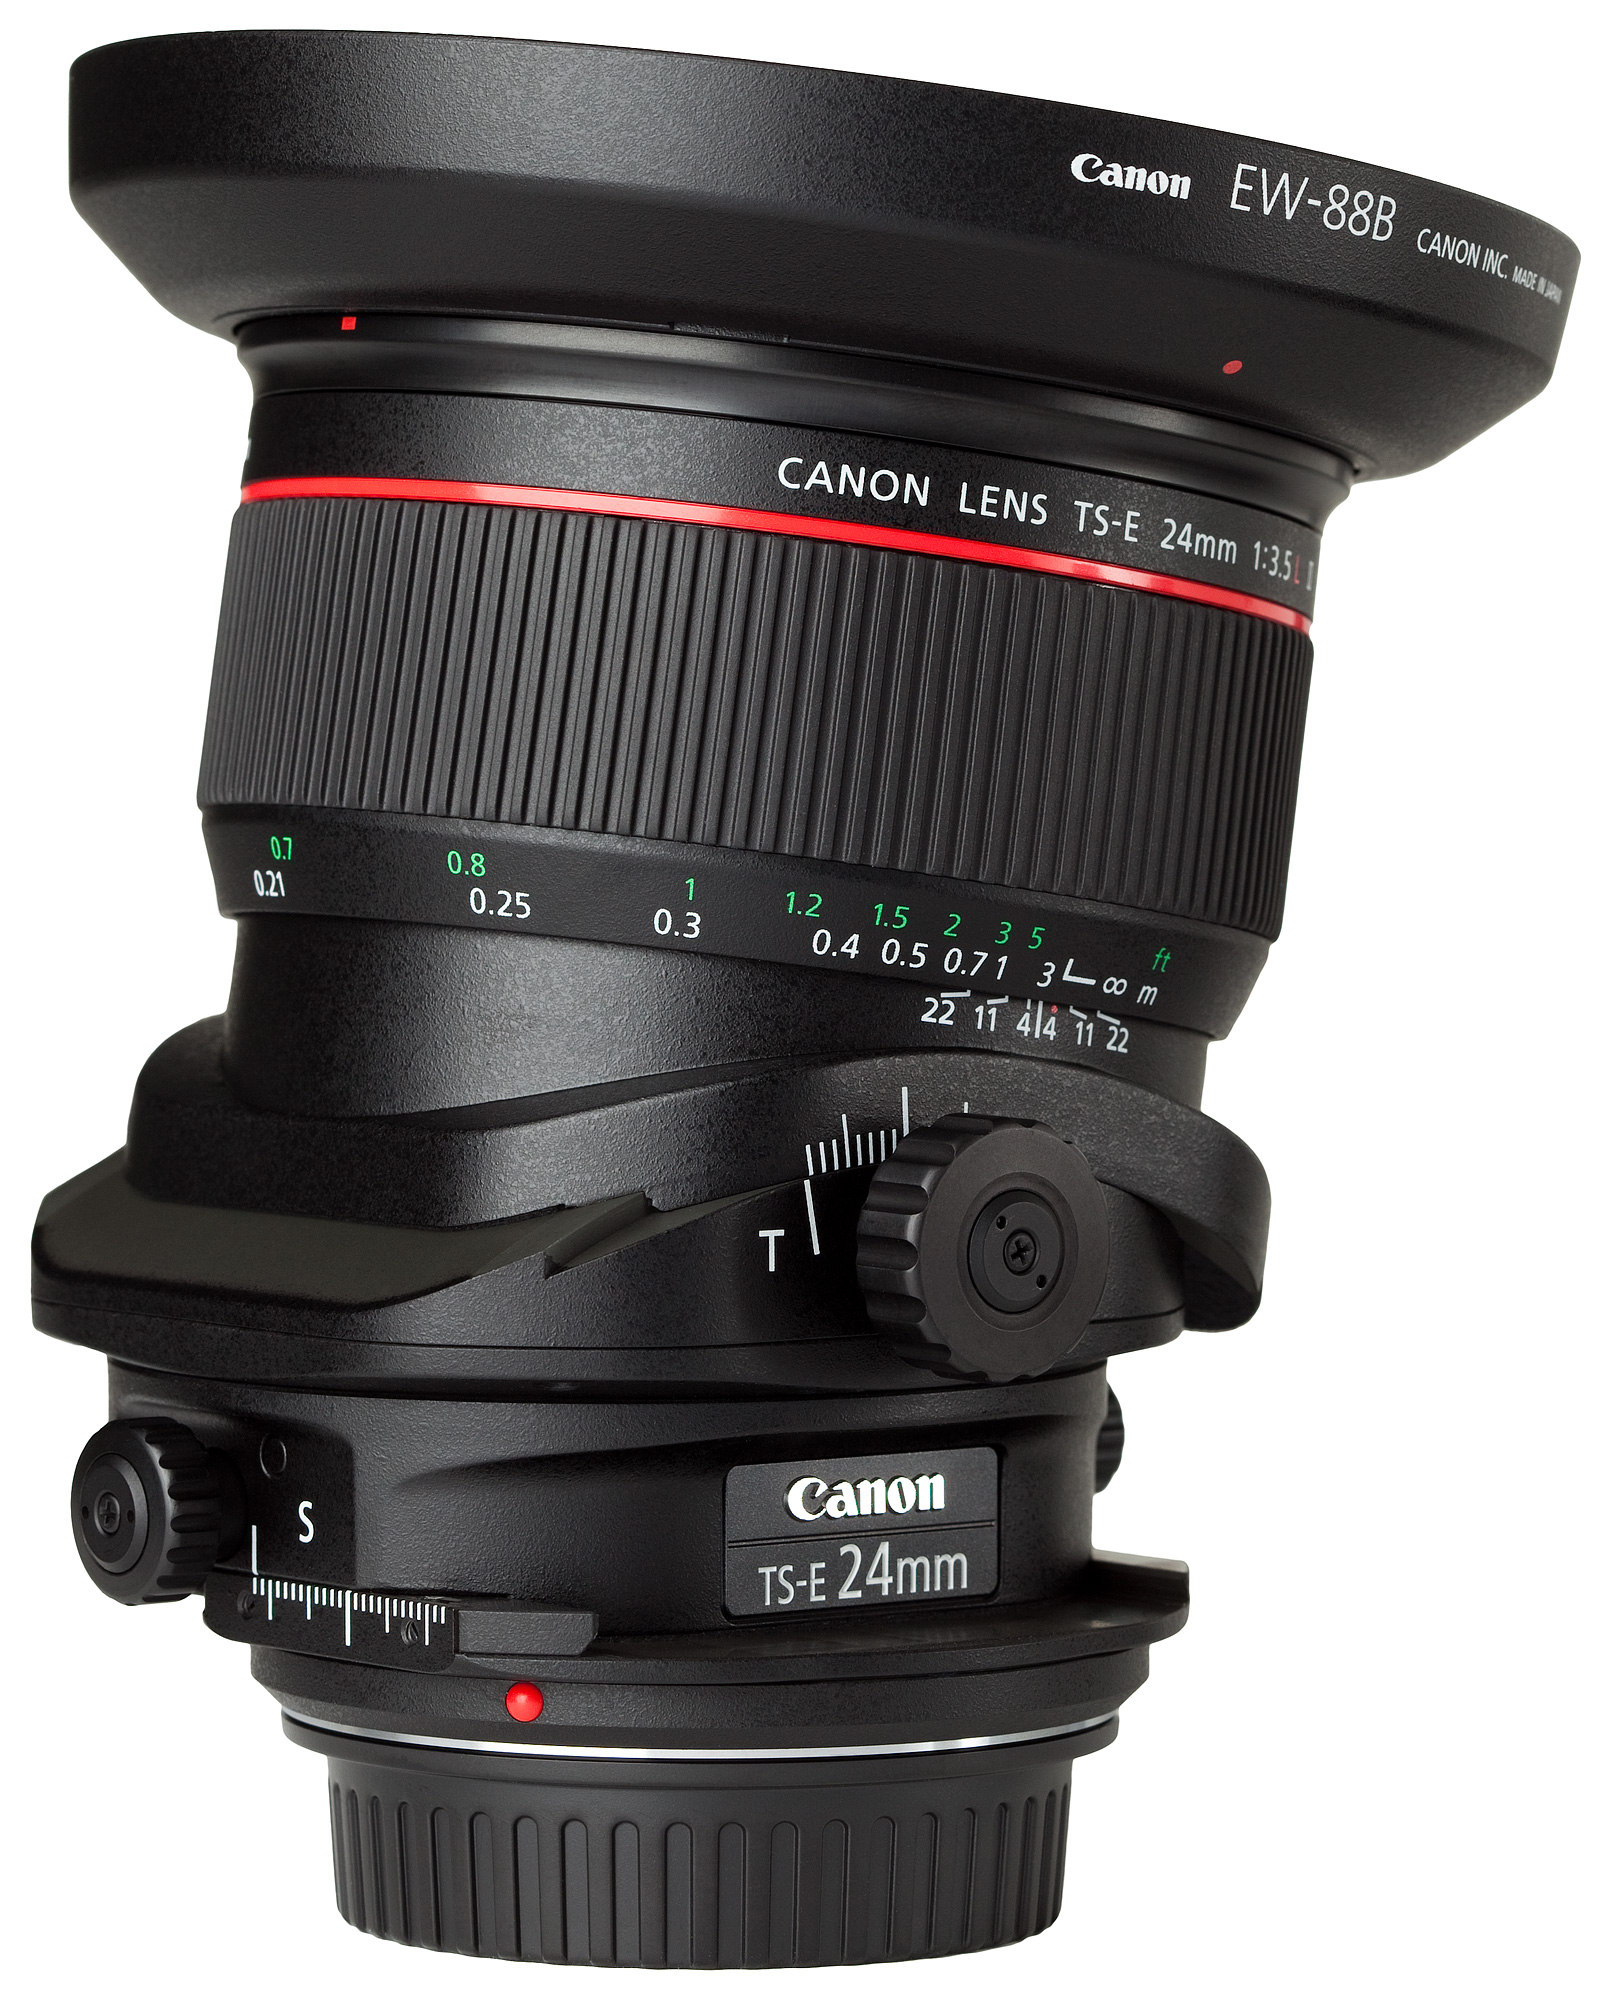
For those that don’t know what a Canon TS-E lens looks like,
here is the 24mm version I have.

At first sight it looks a bit of a beast; certainty when
compared with the relative simplicity of a ‘normal’ lens arrangement. In
addition to the tilting and shifting, the lens allows independent rotation of
the shift and tilt ‘surfaces’. A further complication is that the lens has no
auto focus and that accurate exposure metering is only possible when the lens
is not tilted or shifted.
So what have I concluded after all my reading and
experimentation?
First ‘all’ you need to be aware of the so-called hinge
distance (J), which is the point around which the plane of sharp focus rotates.
For example, the following sketch is taken from one of Merklinger’s PDFs:

Second, the hinge distance (J), for most landscape work, may
simply be recognised as the distance from the camera/lens to the ground (or
some other plane that you wish to see in focus).
Once again thanks to Merklinger we have a simple chart to
illustrate this:

The above chart also illustrates how, as the hinge point
approaches infinity, the near limit of the depth of field moves towards H/2, assuming
your lens is focused at H, the hyperfocal distance. That is, when tilt is zero,
the near limit of depth of field is simply the usual H/2 (ie if you focus at H
with a normal lens, the acceptable depth of field will be from H/2 to infinity).
For those that wish to try out a tilt-shift simulator, I
recommend ‘playing’ with this one: http://static.timparkin.co.uk/static/dslr-tilt-shift/
Third, for anything other than close up (macro) shooting, we
can ignore the fJ/A complexity and simply substitute J. In other words, at the
hyperfocal distance (H) of the lens, the far and near limits of the depth of
field are simply J (more on J this below).
As most photographers know, as a first order approximation H
may be estimated from FL*FL/(N*CoC): where FL = focal length, N is the aperture
and CoC is the circle of confusion at the sensor plane. For the 24mm TS-E,
using a combined defocus/diffraction, 5DIII-based, ‘CofC’ of 0.02mm and
aperture sweet spot of F/8, the estimated hyperfocal distance is about
3.6m or just under 12ft, ie just short
of twice my height.
Thus, if I was on a tripod at eye level and wish to set J to
the ground, ie about 6ft, then at H ft away from the camera, ie twice my height
if we use the above settings, the depth of field would be about 6 ft either
side of the plane of sharp focus, but orthogonal to the camera axis. Knowing
this helps the photographer gauge the size of the focus wedge that is
associated with the 24mm TS-E at a specific H and J. For instance, if I used
the TS-E at its widest aperture (F/3.5), the hyperfocal distance (H) would be
about 27ft away, but J would remain the same (unless I changed the tilt). For
completeness, at F/11 H would be about 8.5 ft; and at F/16 it would just be just
under 6ft, ie about J, thus creating a focus wedge of about 45 degrees either side
of the plane of sharp focus (if I rotated the plane of sharp focus parallel to
the camera axis: more on how to do that below).
Fourthly, the tilt angle for a tilt-shift lens, where
the tilt is limited to small angles, may be simply estimated from 9/2J, where
the tilt angle is in degrees and J is in ft. Thus, if I wish to position my
hinge point at 6 ft below my camera, ie at tripod/eye-height, I would use a
tilt angle of about 9/(2*6) degrees, ie 0.75 degrees.
Fifthly, once I have decided on the position of my hinge
point, which could be below ground or above it (!), ie anywhere, I simply focus
on a point of interest on the plane of sharp focus that I am trying to create, usually the furthest focus point in the scene.
In other words as the focus point moves into the image, the plane of sharp
focus rotates around the hinge point. For the case where I wanted the plane of sharp focus to be actually parallel to the camera/lens axis, ie the hinge point is colocated on the physical plane of interest, I would tend to focus towards infinity, ie a long distance away. Note having the plane of sharp focus aligned with the physical plane is not always required because we are rotating a wedge of acceptable focus.
Summing up: the tilt (9/2J) positions the hinge and focusing
rotates the plane of sharp focus around the hinge.
To help cement the above, here is a simple illustration:
- I wish to take a tack sharp image of a section of a cathedral’s floor, eg looking at several grave stones embedded in the floor over an extended distance;
- I place my 24mm TS-E on a tripod at, say, 1 ft above the ground, thus J = 1, and therefore the tilt becomes 9/(2*1) = 4.5 degrees;
- I would then focus (using a 10x LV magnification, most probably also using the magic focus enhancement in Magic Lantern) at the furthest point on the floor I wished to be in focus;
- Finally, and as alluded to above, rotating the plane of sharp focus so it is pointing up and away from the floor is a sensible strategy in this scenario, as the lower focus wedge would be wasted below the floor. In other words, you don’t want to always put your focus at infinity, which would rotate the plane to be parallel to the camera axis. Thus, as a final check, you need to validate the critical focus needs at all point in your image, say using magnified LV, and adjust the focus in and out of the image, ie rotating the focus wedge, and, if required adjust the hinge point via tilt, until you have what you want.
It’s as simple as that!
In future posts I will elaborate on the shift functionality
of the TS-E lens. For now, I can safely say I feel comfortable being able to
‘tilt to tack sharpness’!
No comments:
Post a Comment