BTW the ML spot is much smaller than the Canon spot metering area. Until I find out the actual numbers, I found this useful image on the web, which shows the four Canon metering modes relative to the 5DIII’s auto-focus area.
When it comes to exposure bracketing, I believe an ML-based workflow represents the best you could ever hope to achieve. For this reason, I thought I would reiterate, what I believe, is the optimum exposure bracketing workflow for when you are on a tripod.
First make sure you have some ML settings switched on: that is under the Overlay Menu ensure Global Draw and Magic Zoom is on, with your preferred settings; and that the ML Spotmeter is on and set to RAW and AFBox, so that the ML spot meter is always in the centre of the AF box. Finally, ensure the RAW ML Histogram is on and set to Histobar ( I use the ML RAW histobar as a quick check when evaluating exposure, as it provides RAW feedback integrated over the entire scene).
Then, under the ML Shoot Menu make sure the Advanced Bracket is set to AxnEv (where n is your bracket Ev offset, eg 2Ev).
Once ML is set up, the optimised workflow goes like this:
- Set the aperture as required;
- Compose the scene;
- Focus as required;
- Go to Live View;
- Move the focus box so that its centre is over the darkest area where you wish to see details, as we will use this metered area to set the base exposure;
- Adjust the shutter speed until the ML spot reading (in the centre of the focus box) reads about -3EV; the reason being that with the ML spot set as above, the EV reading is the exposure offset from clipping (see extra below);
That’s it: an ML workflow guaranteed to capture the perfect (exposure) bracket set; and all you needed was Magic Lantern and decide on the darkest details you wanted to capture.
BTW, as an extra, to test where your in-camera meter operates, relative to the RAW (sic) clipping point, all you need to do is put the camera in LV and point it at a surface (I use a single colour wall), so the LV screen shows a simple, flat image (make sure you are not casting a shadow on the image, which could move as you move and change the exposure).
Then adjust the shutter speed until the in-camera, Canon (sic) exposure meter shows 0Ev, ie it’s in the middle of the Canon scale. Then simply note what the ML RAW spot meter is telling you.
On my 5DMkIII I get an ML spot meter reading of -3.9Ev. Which tells me that the Canon 0Ev reading is just under 4Ev below the 100% highlight saturation point, which is why I choose -3Ev when setting the base bracket above.
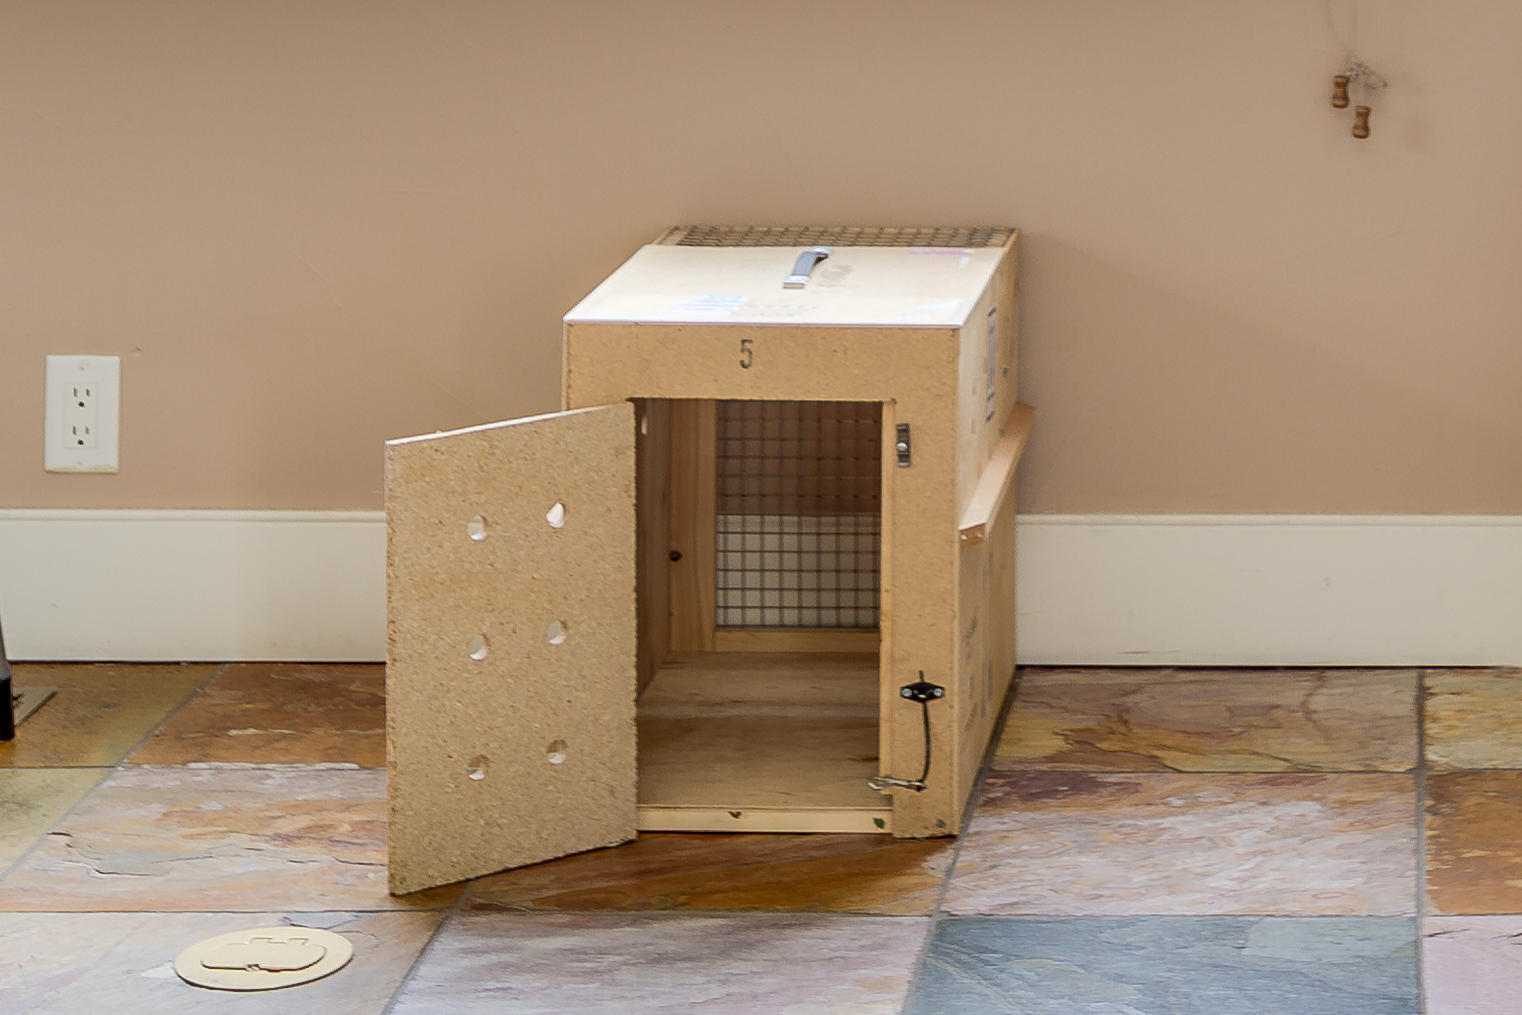
Finally, here is an unprocessed, ie flat, example. I decided the darkest area where I wanted to see the details was the wire mesh at the back of the cat box: so I moved the ML RAW spot meter so it was inside the box, and got a base exposure of 1.3s at -3Ev. The ML auto bracketing then added a further 5 exposures, with the last at 1/800s. From experience ML tends to give you one more exposure than is necessary, ie the exposure at 1/200 would have been OK. I see the extra ML bracket as highlight insurance.
I then used LR/Enfuse to create the final fused image. The first image below shows the Enfused full frame image, whilst the second image is simply a cropped version, showing inside the box. All I did with the crop was to open up the exposure in LR to show the captured detail covers all areas of interest, ie within the dark box and in the bright sky.


If a man can bridge the gap between life and death, if he can live on after he's dead, then maybe he was a great man. See the link below for more info.
ReplyDelete#maybe
www.ufgop.org
It's difficult to answer, as 'all' you need to do is use the ML raw spotmeter on your shadows and let the the ML Auto ETTR do the rest. Obviously make sure you are not in auto ISO, eg Use ISO 100.
ReplyDeleteAs for LV being overexposed. That is irrelevant. The key issue is what your exposures look like in post.
Remember you started at an exposure that raised the shadows to a good exposure, i.e. Very ovef exposed elsewhere.
Then post process through LR/Enfuse or any other exposure bracketing software.
Brent
ReplyDeleteThe above workflow uses Advanced Bracket under the ML Shoot menu, ie the Auto option. ETTR will not work with Auto Bracketing on.
The power of the Auto Bracketing is that once you have established your base, shadow exposure, the Auto bracketing does the rest.
You could also let the Auto bracketing handle the shadows as well, ie don't bother setting any exposure yourself, however, I prefer to 'nail' the shadows myself using the ML Spotmeter in Ev (Raw) mode.